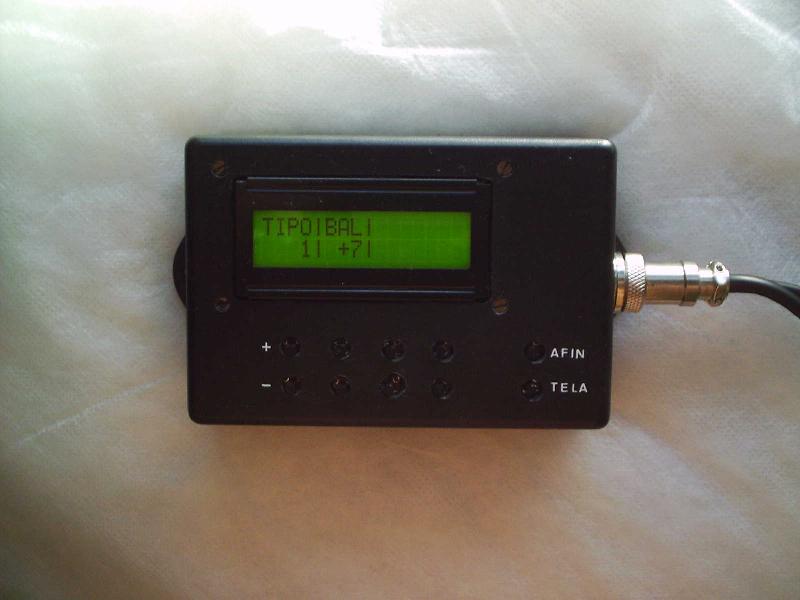
Figure 3 - Detail of Operation Unit - Screen 2 - (body type and balance control)
Back